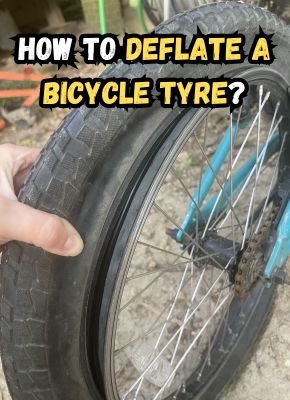
Whether you need to change a flat, pack your bike for travel, or store it for the off-season, knowing how to properly deflate your bicycle tires is an essential skill.
Letting the air out seems simple enough, but doing it the right way is important to prevent damage and ensure your tires can be reinflated safely later on.
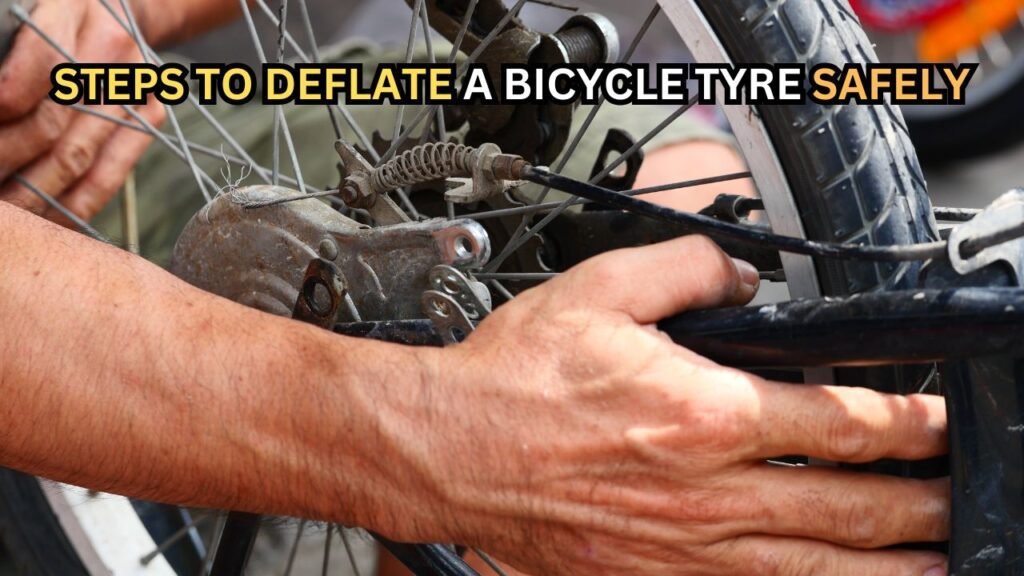
With the proper technique and some basic tools, deflating bike tires is easy – just follow these steps:
Steps to Deflate a Bike Tire:
1. Gather Necessary Tools and Materials
To deflate a bicycle tire, you’ll need a few basic items: a tire lever (plastic is recommended to avoid rim damage), a rag or cloth, and an optional source of soapy water to help locate leaks. Having a pump or CO2 inflator on hand is also wise for later reinflation.
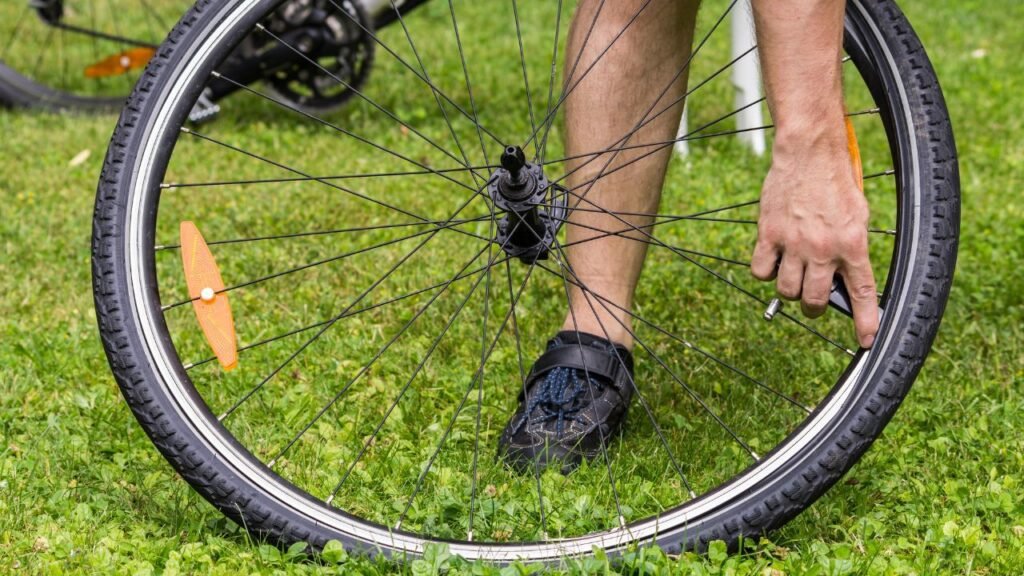
2. Find the Valve Stem
Locate the valve stem – the protruding metal cylinder used to inflate and deflate the inner tube.
On road bikes it will be along the middle of the wheel, while mountain bikes typically have the valve stem positioned a bit offset.
3. Release Air from the Tube
Use your hands to unscrew the valve stem cap. Then, grip the tip of the valve stem with your fingers and press down firmly to allow the air to escape the inner tube.
Go slowly at first in case there is a lot of pressure built up.
4. Detach Tire from Rim if Needed
For a full deflation or tire/tube inspection, you’ll need to separate the tire from the wheel rim after releasing most of the air.
Use tire levers to hook the bead over the rim’s edge, working slowly around the circumference to avoid pinching the inner tube.
5. Inspect Tire and Tube
With the tire fully off, inspect both the tire and tube for any wear, debris, or damage that may have caused a flat or leak.
Run a rag over the inner tube while re-inflating slightly to listen/feel for any escape of air pinpointing a puncture.
6. Store Properly Until Reinflation
Once fully deflated, avoid creasing or pinching the inner tube. You can simply leave it inside the partially installed tire for short-term storage.
For longer periods, lightly reinflate the tube just enough to give it shape before storing.
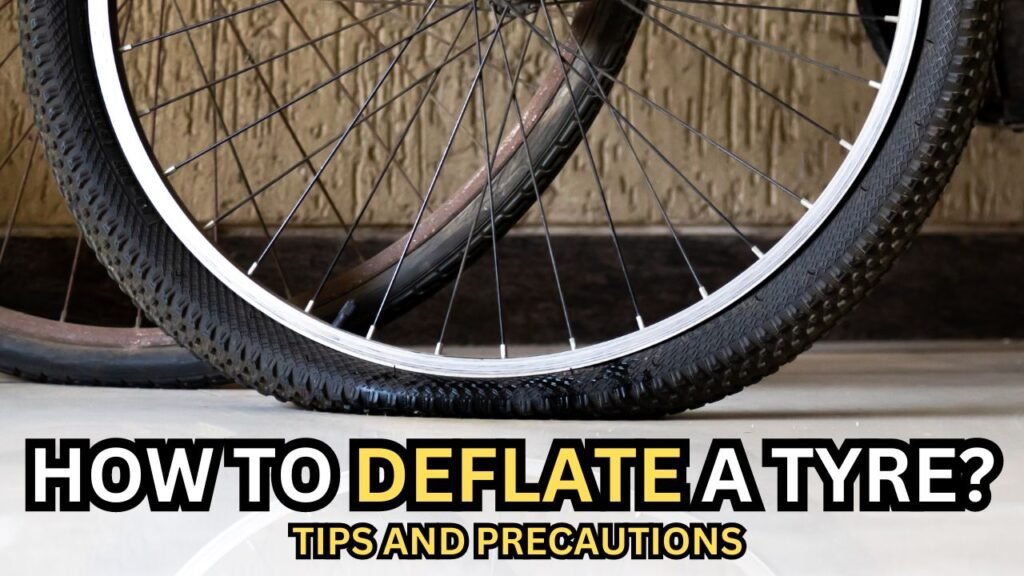
Tips and Precautions:
Safe PSI Levels
Be careful not to over-inflate or under-inflate your tires. Bicycle tires typically require between 80-130 PSI, with road bikes on the higher end and mountain bikes on the lower.
Check your tire sidewalls for the recommended PSI range and use a quality gauge for accuracy.
Avoid Pinching the Tube
When reinstalling the tire after deflation, be very careful not to pinch or crease the inner tube between the tire and rim.
This can cause holes, slits, or bulges that will lead to a flat. Use tire levers and make sure the tube is evenly seated all the way around.
Inspect for Debris
Before reinflating the tube, take a moment to inspect the inside of the tire for any debris like small rocks, glass, or even protruding spokes that could cause another puncture or leak.
Run your hand along the inner surface to check for foreign objects.
Conclusion:
Knowing how to properly deflate and maintain your bicycle tires is an important part of cycling. By gathering the right tools, carefully releasing the air, and inspecting the tire and tube, you can avoid damaging components during deflation.
Remember to take your time re-installing the tire to avoid pinching the tube.
With the proper technique and precautions, you can keep your bike tires in top shape for miles of smooth riding.
Routine maintenance like keeping tires inflated to the right PSI levels will also maximize performance and prevent flats. Whether changing a flat trailside or prepping for storage, deflating tires the right way is a key skill for any cyclist.
The tips cover essential precautions about PSI levels, avoiding pinched tubes, and inspecting for debris.
FAQs:
Is it better to deflate or leave tires inflated for storage?
For long-term bicycle storage (e.g. over the winter months), it’s generally better to partially deflate your tires.
Leaving them fully inflated can cause slow air migration through the rubber over time. However, you don’t want to fully deflate either.
Aim to release just enough air so the tires go down to their minimum recommended PSI, usually around 20-30% of normal riding pressure.
This protects the inner tube from getting creased and preserves the tire’s round shape.
How do I know if my tire needs to be replaced?
Inspect for excessive wear, cracking, or cuts in the tread area and sidewalls. The tires may need replacing if the tread is severely worn down and you can see excessive threads or the inner casing peeking through.
Any bulges, cuts, or cracks that go all the way through the rubber casing are definite signs you need new tires for safety.
Can I use anything besides a pump to reinflate?
While a quality floor or hand bicycle pump is ideal for reinflating, there are some other options. Small CO2 cartridges that thread onto the valve stem can quickly inflate a tire.
You can also use a compressed air canister designed for inflating tires, sports balls, etc. As a last resort, even a tire inflator from a gas station air pump can work in a pinch.
How often should I check my bike tire pressure?
It’s a good habit to check your bicycle tire pressure at least once a week during peak riding season, before any longer rides, and after hitting any serious bumps or debris.
Tires can slowly lose air over time from microscopic leaks around the valve stem and bead area.
What PSI is safe for my bike tires?
The recommended tire pressure range is usually printed right on the sidewall of the tire, something like “85-115 PSI” for example.
As a general guideline, road bike tires are often inflated to 80-130 PSI, while wider mountain or hybrid tires run more like 25-60 PSI.
Follow the manufacturer’s specs and check your owner’s manual if needed.